
Start Strong in 2024
DIY Home Gym in a Box
Build a foundation and elevate your fitness journey from the comfort of your home
View Project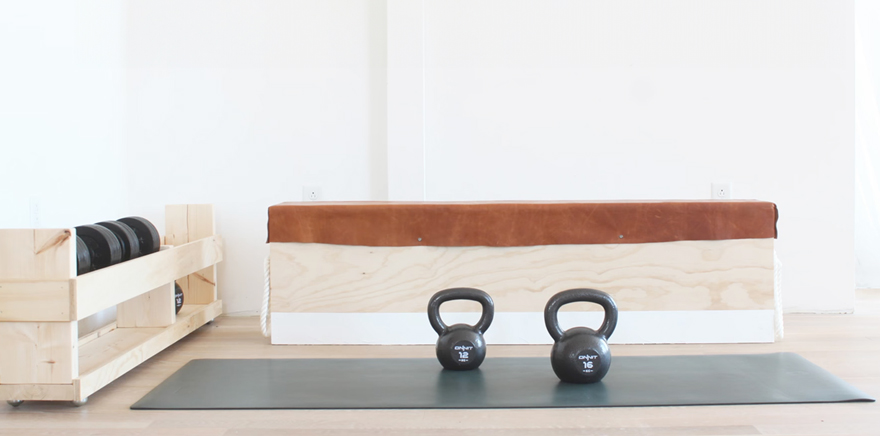
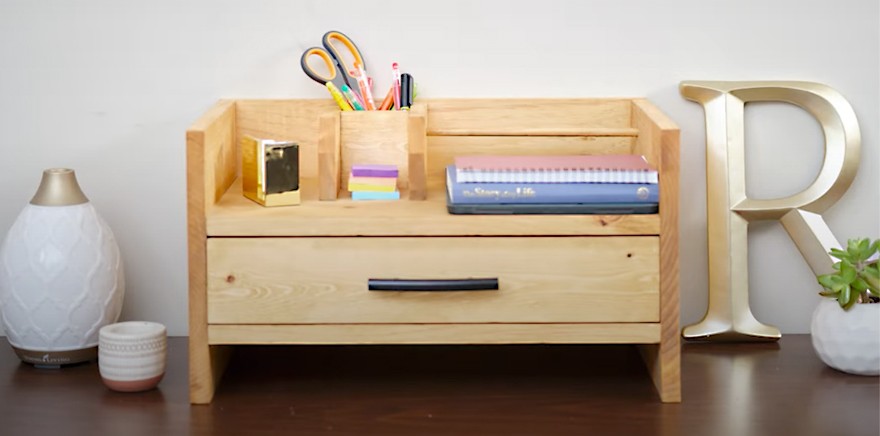
Kickstart Success with Organization
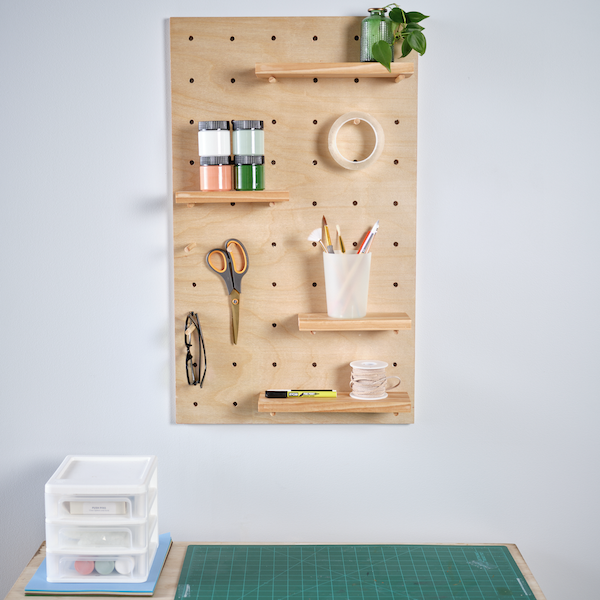
DIY Desk Organizer
Conquer chaos in the new year with this project, personalized by you
View Project