Need to register your product? Register HereArrow Right
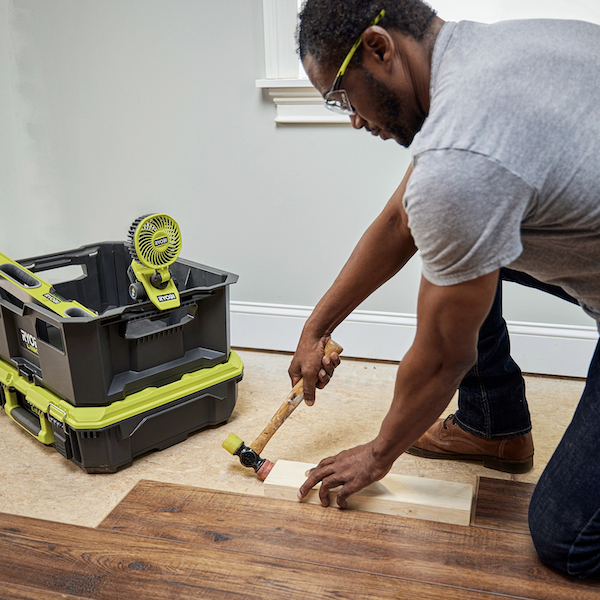
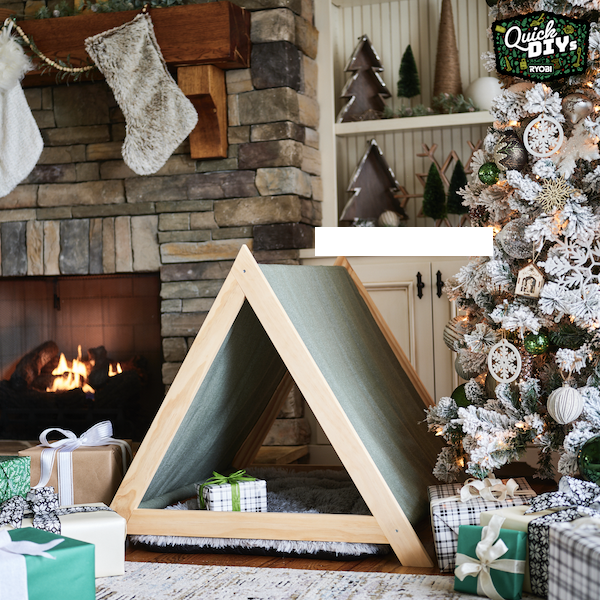
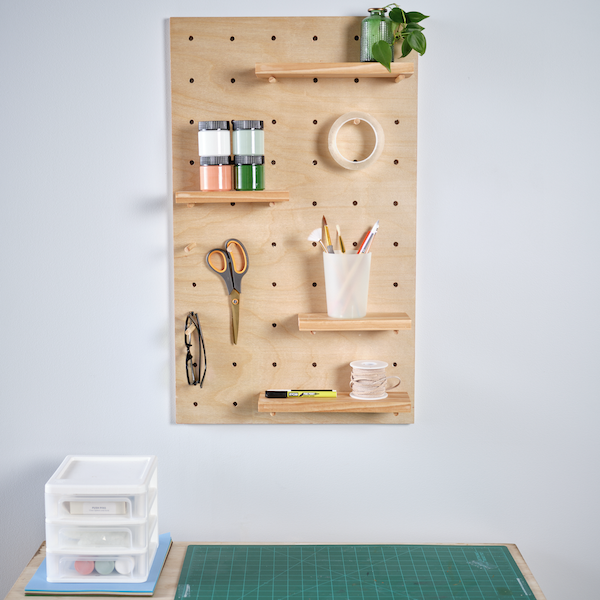
Transform your clutter into functional elegance with this simple project
Bring life with a flourishing herb sanctuary